HOW TO TAKE YOUR OWN TRAVEL PHOTOS| SOLO TRAVEL PHOTOGRAPHY
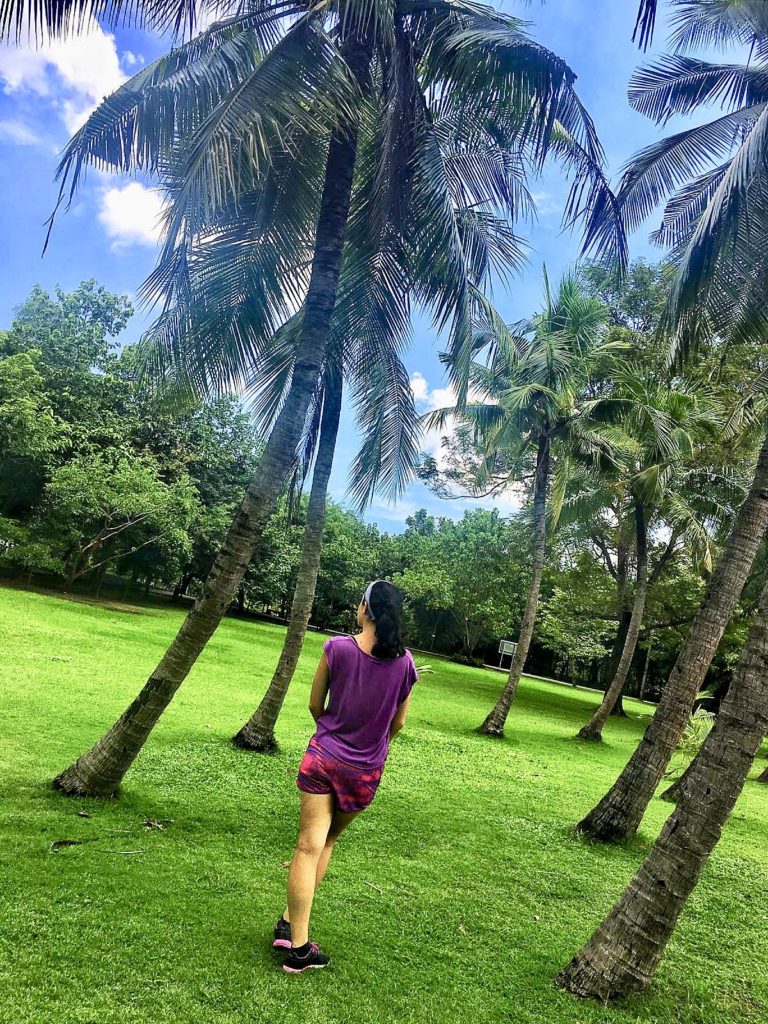
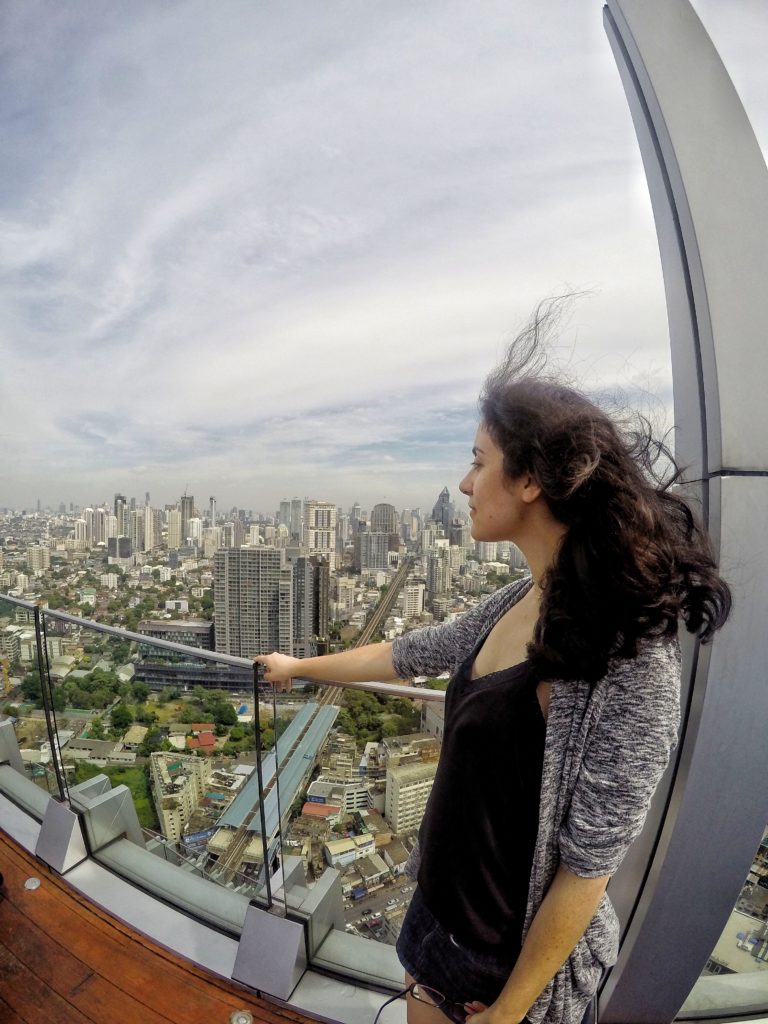
Are you tired of taking typical selfie photos? Do you want to make your photos appear semi-professional, even if you’re solo travelling? It never occurred to me until many failed attempts at solo travel shooting all the possibilities of taking photos of myself and by myself. It seems many travellers are so used to relying on a selfie stick or selfie mode on their mobile camera, that we have overlooked all the options that mirrorless and DSLR cameras offer us.
It took me awhile to break out of the “selfie tradition”, but finally, I discovered a better way to capture more polished photos during my solo travels. Firstly, it is important to take note of the free apps offered which sync with your camera. All the mainstream brands (Canon, Sony, GoPro, etc) typically have designed apps that will allow you to control your camera from your mobile phone. Well, isn’t that revolutionary? One of the first steps when purchasing a camera, should be to download the free app.
Once you’ve got that app downloaded, you will actually be able to view on your mobile phone the exact shot your camera is aimed at. The ability to in fact see in advance the frame your shooting allows you to control all the elements to that photo. In addition, you can utilize the camera timer which will likely be accessible both the a and your camera settings.
The timer is a lifesaver because you don’t need to worry about having your mobile phone in the frame. The timer provides just enough time to toss or gently place your phone outside the photo frame, once you’ve decided on your composition. There were usually be at least a ten second window on average for you to get “photo-ready.” If you simply want a stream of photos one after the other in rapid motion, the opt for the “burst photos” on your camera or mobile. In a second, it will take bursts of 10, 20, or even 30 photos depending on your camera’s setting.
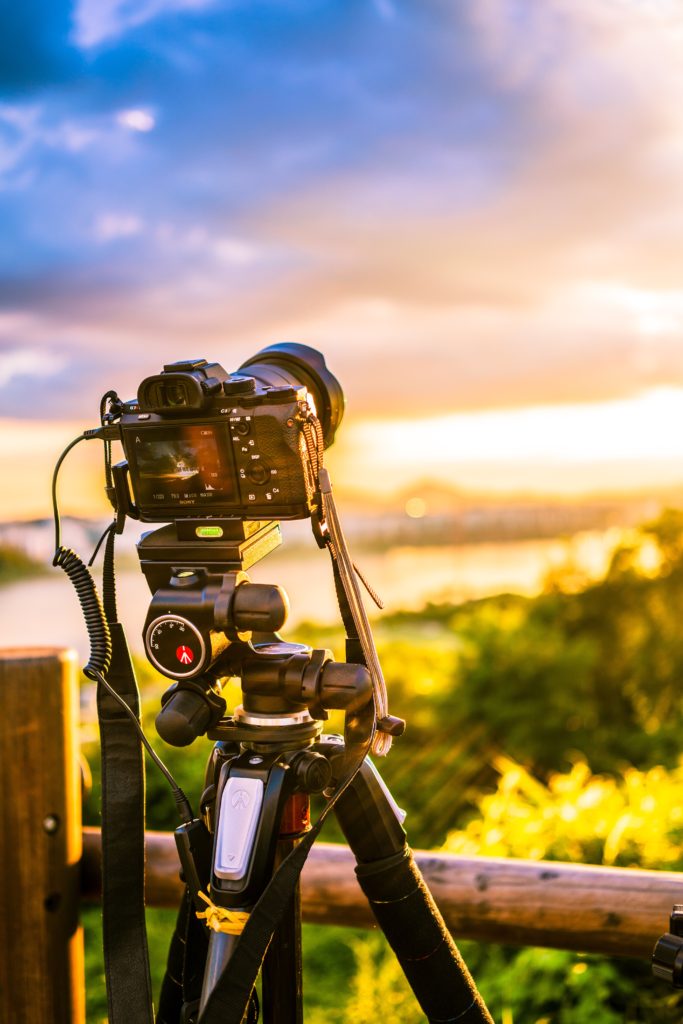
The last and most important piece to the solving the solo photo dilemma is a tripod. Some travellers might find that a tripod is only for the “professionals” or not meant for tourists, but that is certainly not the case. There are plenty of affordable generic brands tripods on the market that can be as cheap as $20. No matter your budget for a tripod, this accessory will surely accomplish the job. A tripod offers a stabilized shot as opposed to resting your camera on a stack of books or a shelf per se.
To review, all you need to do is set the scene, choose the location and angle of your tripod. Following the basic frame setup, proceed to check your pose and positioning, then set the timer, and voila, you’ve created an upgraded solo photo shoot. As you can see, within a few simple steps, you are on your way to being your own solo photographer!
